Essential Gear for an Easy Classroom Set Up

*This blog post includes affiliate links which means that at no extra cost to you I will earn a small commission to help offset the cost of running this site.*
You walk in for classroom set up and the entire classroom is a blank slate.
So. Much. Space. To. Fill.
Where do I start? What kind of tools do I even need? If you’re a new teacher, or even an experienced teacher moving to a new room can be overwhelming when you have so many other things pressing on you during Pre-planning week.
I created this guide with essential gear to help you set up your classroom with a breeze! A lot of things on this list are simple, but nothing is worse than getting ready to start a project only to find you don’t have all the tools you need!
Be prepared and buy things early, a lot of them sell out at your local stores the first couple of weeks leading up to the start of the school year. If you want to see the entire list all at once, check out my Amazon Classroom Set Up Store Front.
So many of these things are already laying around your house, so save your money if you can! If you have friends or family that are looking to support you on your teacher journey, ask for these things first because you’ll use them all year long, year after year.
If you’re missing things you can even set up your own Amazon Teacher Wishlist so friends, family, and parents can help contribute to your classroom! If you still don’t have everything you need for your classroom set up, I’ve linked all the items through Amazon because nothing beats Amazon Prime 🙂
Classroom Set Up Step 1: Decor Prep
Printing Classrom Decor
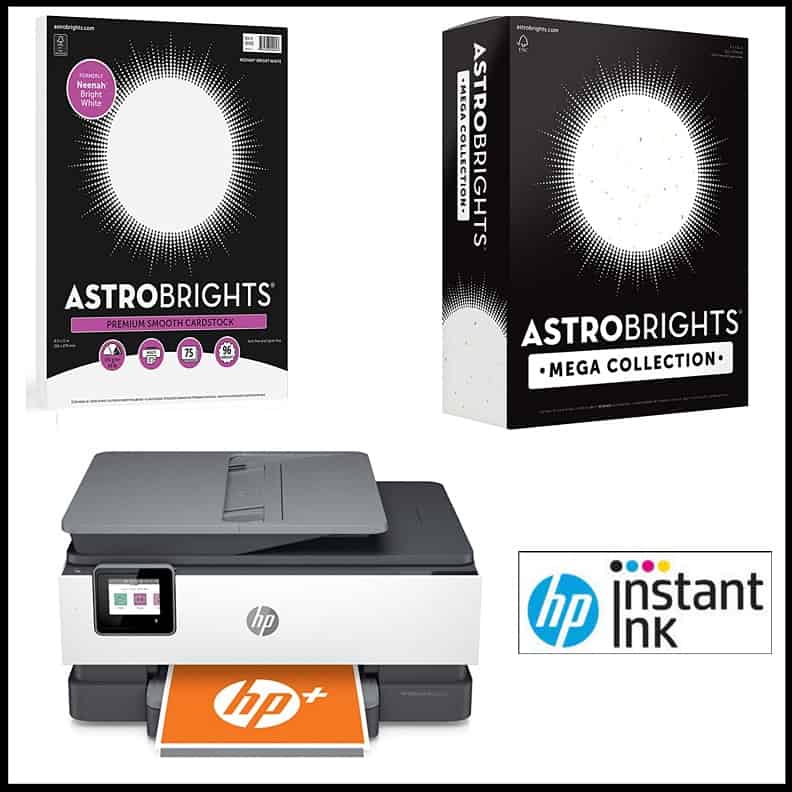
Being a teacher means you quickly become an expert at printing all the things! I highly recommend printing your classroom décor on this Astrobright Cardstock Paper. (If you need more paper, I would recommend getting this 320 pack of Astrobright Cardstock paper)
Remember, you’re not printing for this year, you’re printing for things to last for years to come! Your future self will thank you for making the investment in quality materials for your classroom décor. (If you don’t have your classroom décor picked out for the year, check out my store which has so many classroom theme bundles. You’ll love how easy they make classroom set up!
If your school offers free printing jump on that! If you’re on your own for printing you might want to consider getting a reliable printer at home. I have loved my HP printer and have used it for years and gotten great results!
I would recommend the HP Office Jet Pro 8025e All-in-One Wireless Printer. This printer comes with 6 free months of an instant ink subscription (If you sign up for HP+ which is free), prints crisply, and also functions as a copier/scanner.
My favorite part of buying an HP Printer is their instant ink program. The program is a subscription model which lets you print a certain amount of pages per month. You can even change your subscription level from month to month to reflect busy printing seasons.
The best part is that it doesn’t matter if it’s color or black and white! They monitor your ink levels and send ink to your doorstep before it runs out so you’re always covered! To find out more about the HP printing program click here. With cheap ink, printing your classroom decor becomes so much easier!
Cut and Laminate
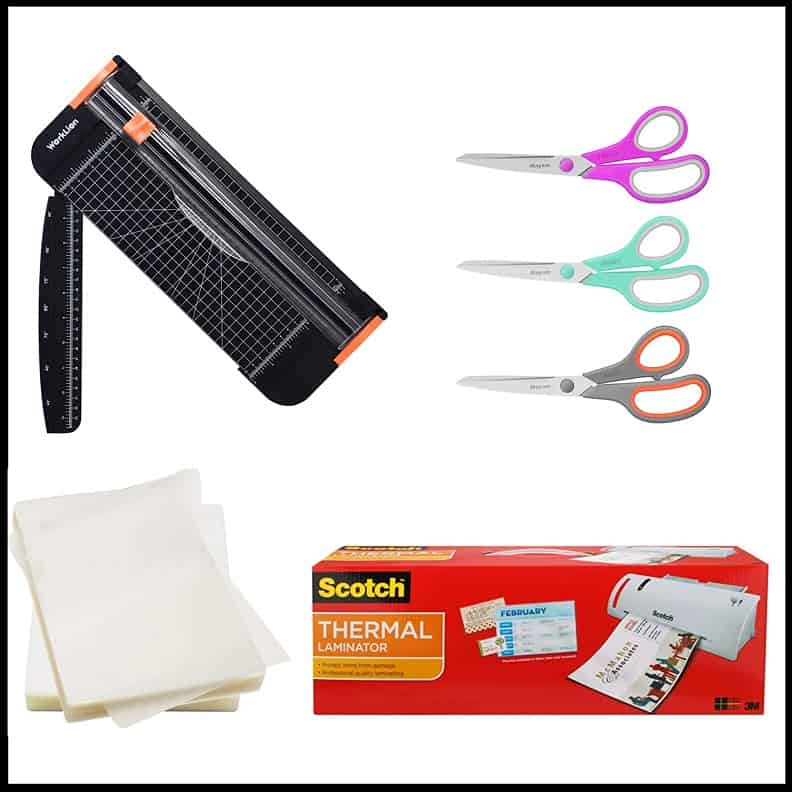
Once you’ve got your decor printed I highly recommend laminating it! You don’t have to laminate everything you print, but I would definitely recommend the things that get handled a lot. If you get free laminating at your school take it! If not, this Scotch Laminator is one I’ve used for years and have absolutely loved! It heats up quickly and is so portable you can quickly move it from home to the classroom.
If you get the laminator, get these Laminating Sheets which come in quantities of 100, 200, 500, 1,000, and 2,000 pages. They’re so easy to use and will save you MAJOR headaches trying to reprint all of your supplies each year! Yes, laminating is an investment but you’ll love being able to quickly protect your classroom from the wear and tear children naturally bring.
While you’re at it make sure you have reliable ways to cut out everything after you’ve laminated them. I’ve been using these iBayam Scissors for as long as I’ve been doing classroom decor. They’re very affordable, cut clean, and don’t break.
If you know you’re going to have a lot to cut and you don’t have access to a large paper trimmer, this portable paper trimmer works great for long straight cuts! At the time of writing this blog both items were less than 10 dollars and will stay with you during your teaching career 🙂
Organize and Clean
This organization section is based on the assumption that you’re doing a lot of the printing and laminating at home. If you’re able to do all the printing and laminating at home you can skip this section.
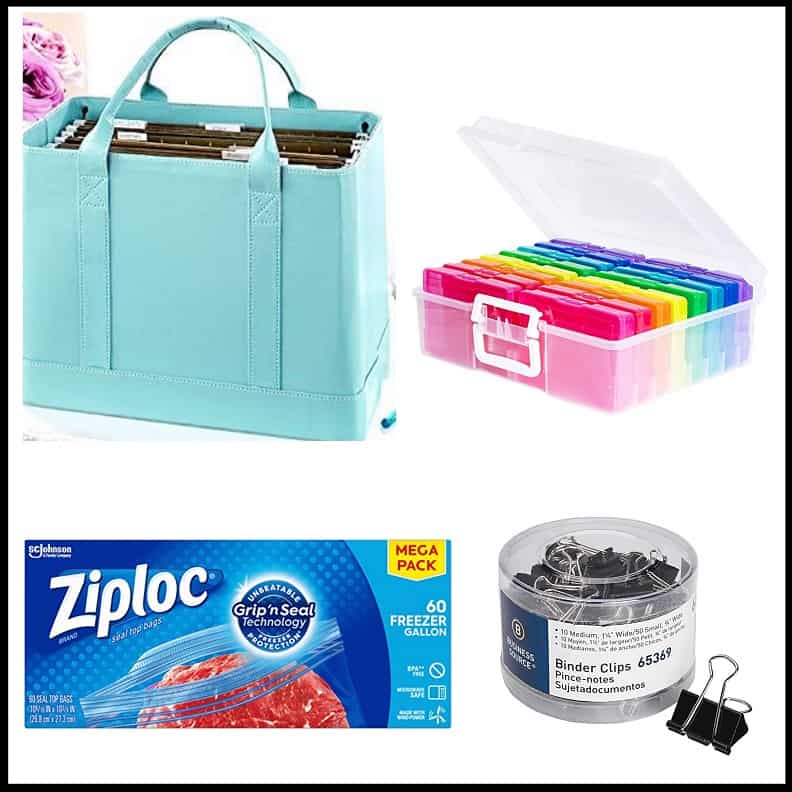
After you’ve printed, laminated, and cut your classroom decor you’re going to need to have it organized so so that your classroom set up goes quickly. You’re definitely going to want a good mix Ziploc Baggies and Binder Clips to transport all of your décor.
For example, if you’re transporting your Alphabet Posters, it’ll be much easier to use a binder clip. If you’re going to transport the Labels for your Teacher Toolbox then you’re going to want a baggie to carry all of the small items. Trust me, it’s heartbreaking to to get to your classroom for set up only to find that you’ve lost one or two of the most important toolbox labels.
Pro Tip: If you’re going to reuse the same decor the next year you’re going to want to think through ways to store it and keep it organized so that the process goes quickly the next year. For small items I love this Storage Option. If you’re looking for a cute option for decor or any type of paper storage I can’t get over this PERFECT Teal Purse! Yes, the teal purse acts as hanging file folder – which is also perfect to use during the year if you have to take grading home.
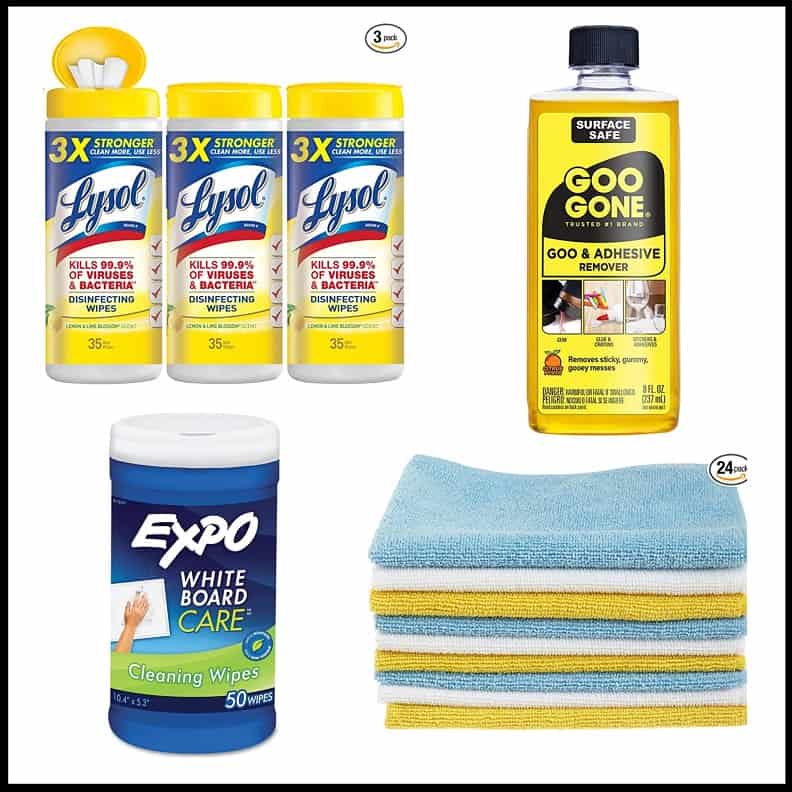
After you’ve organized your classroom décor, you’ll want to make sure that you’ve cleaned your room before you begin to decorate. Get yourself some Lysol Wipes for your teacher desk, door handles, and student desks.
You’ll want to make sure the student desks are clean before you begin attached name tags. More importantly, your teacher desk will be your sanctuary all year long so make sure it’s thoroughly cleaned before you begin adding your favorite décor pieces and personal items.
If necessary bring White Board Cleaner to give your classroom a fresh start before you start adding borders, or an alphabet. You’re also going to want some Microfiber Cloths to go with it! These cloths also work great if you ever have students use mini-white boards in the classroom because they wipe the boards clean!
Lastly, if you’ve taught before you know that classrooms can get sticky really fast! If you scan your room and see that there are things that can’t be cleaned just with Lysol wipes I would recommend using some Goo Gone. It’s great for removing any left behind stickiness from tape on the walls, or other sticky things that students have dropped. The description even claims to remove gum, but I haven’t tried that yet.
Trust me, putting in the time to clean before you begin your classroom set up will be so rewarding as you make your space your own and give yourself a fresh, clean canvas to work with!
Classroom Set Up Step 2: Classroom Walls
So your room is clean, you’ve got all of your decor printed and organized so that you’re ready to transform your classroom into a home away from home. There’s only one last step before you can begin covering your room with beautiful decor 🙂
If you’re planning on transforming the walls of your classroom in anyway (Adding contact paper, or painting an accent wall), now is the time to do it! For example, for my Bold Brights Classroom Makeover, we added a bold teal accent wall. Painting this first helped the vision come alive because it was easier to decide what décor goes well on that wall after it’s been painted. If you’re not looking to change up any of the walls you can skip this step.

Option 1: Painting Walls
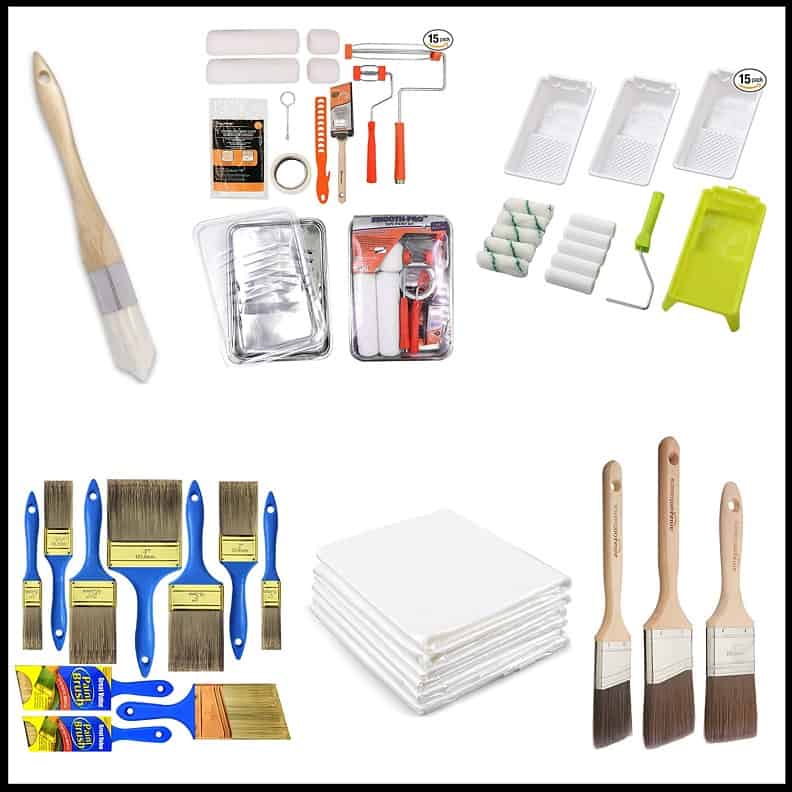
So not every school lets you paint, but if you get the chance and you want to do it you’re going to love it all year long 🙂 I would highly recommend getting an All in-One Roller Painting Set. The thing I love about the painting set I linked is that it includes 3 different paint trays in case you’re looking to do multiple colors.
The roller on that product is a little small, so if you’re looking to do a bigger area and need a more complete set of painting tools the Rolling Dog Paint Set is for you! It includes a large and a small roller, a drop cloth, 2 paint trays, a paint can opening tool and a paintbrush for doing the edges.
Pro Tip: If you’re going to be painting cubbies like I did in my Farmhouse Classroom Makeover, you are definitely going to want a Triangle Paint Brush for the corners. This brush gives full coverage to those tough corners and saves you from constantly getting paint on your hands trying to fill the entire corner of every cubby!
If you don’t buy a painting set that comes with a Drop Cloth be sure to get some so that you can save your carpet/tile. Lastly, I’ve seen so many of you send me cute pictures of things you’ve found at Goodwill and repurposed through a simple coat of paint. If you’re looking to do that, here are some affordable great paint brushes to get the job done: Option 1 and Option 2.
Option 2: Adding Vinyl Paper to Walls
So maybe you’re not allowed to paint any walls, but most schools will let you add vinyl contact paper. Adding an accent wall with white brick, red brick, or shiplap can totally transform a space and give it texture.
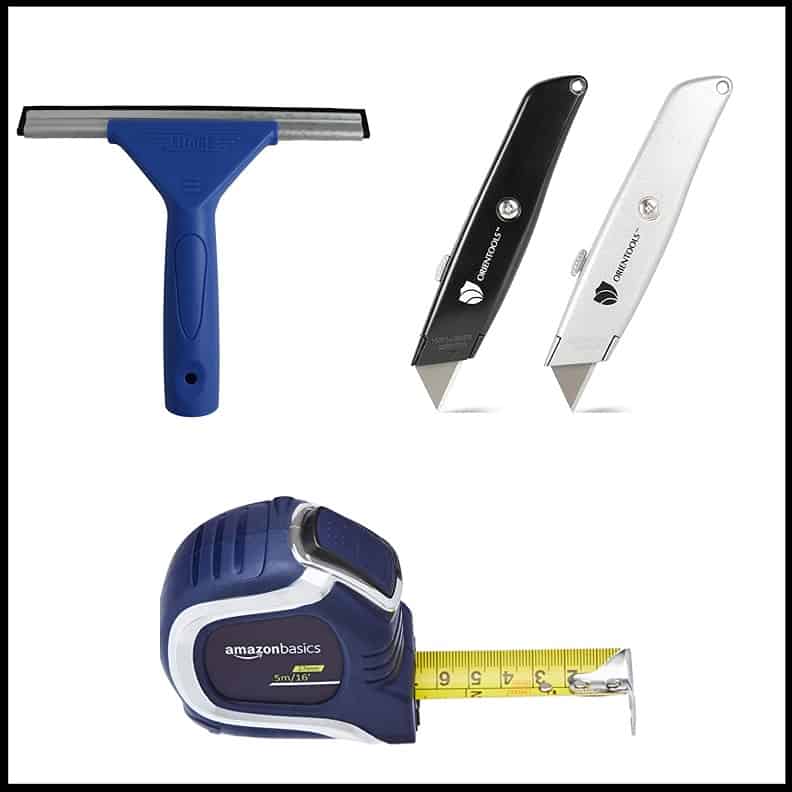
I have learned from experience that if you’re going to put up contact paper a Window Squeegee is going to be your best friend! The Squeegee lets you add the contact paper smoothly and quickly. You’re also going to need a way to cut the paper in a straight line. I highly recommend using a Box Cutter! I have found it to be much easier than scissors for working with contact paper.
Last pro tip for putting up a vinyl wall: Measure the length of paper you need using a Measuring Tape. Being able to cut the vinyl paper to a length that’s close to what you need makes it SO much easier to attach the paper without getting wrinkles. When you’re attaching the paper to the walls with the rolled up part of the paper at the end, it weighs it down and makes it nearly impossible to make the paper straight and without wrinkles.
Classroom Set Up Step 3: Decor Set Up
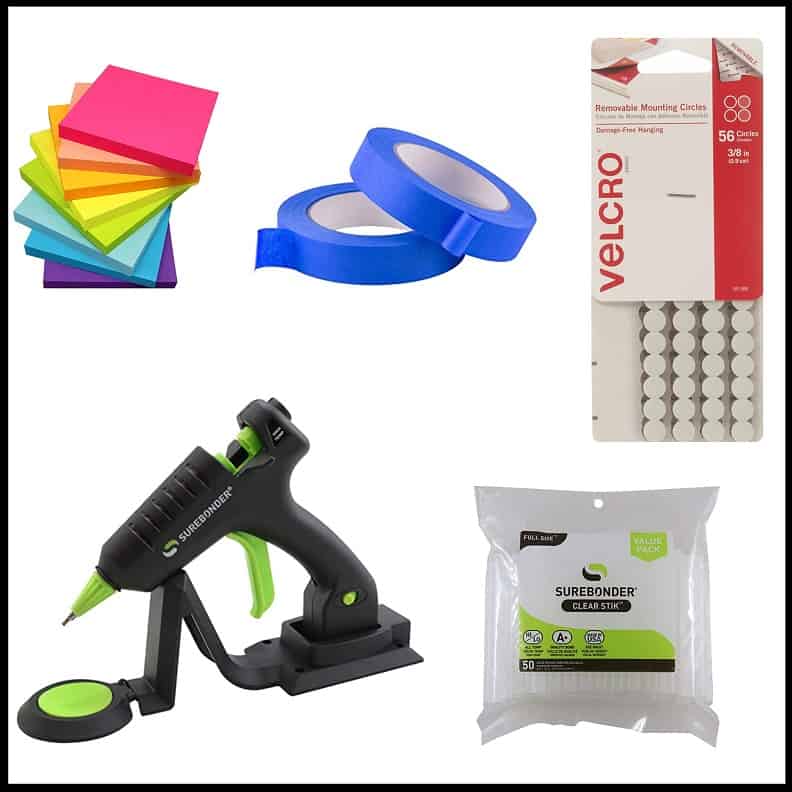
Now that your room is clean, and your walls are finished you’re finally ready for step three of your classroom set up – putting up classroom décor. A quick tip to planning out your classroom set up is to use Sticky Notes on the walls to lay out where you want to put your alphabet, job cards, calendar, etc. The sticky notes help you better visualize where everything will go. You might even want to use a Measuring Tape to make sure what you’re planning on putting up will fit!
My favorite way to attach decor to the walls is with a Cordless Hot Glue Gun. (The cordless glue gun is one of my favorite teacher hacks because you’re freed up to work all around the room without having to worry about outlets or tripping over the wire.) This works great for your Job Cards, Number Line, Growth Mindset Posters, and almost anything else you can think of.
If your paper is laminated, at the end of the year it’s very easy to pull the dried glue off the back of the poster and store the poster for the next year. If you’re going to use this method, be sure to pick up extra glue sticks! I
f you don’t want to use a glue gun, I also use Blue Painting Tape. Even though there are stronger tapes, Painting Tape has always held for me and it protects the walls from ripping off paint in case you need to move the décor.
For classroom décor that gets moved around a lot (For example, job cards) I like to use Velcro Circles. This makes it incredible easy to move the items around without having to get more tape or firing up the hot glue gun!
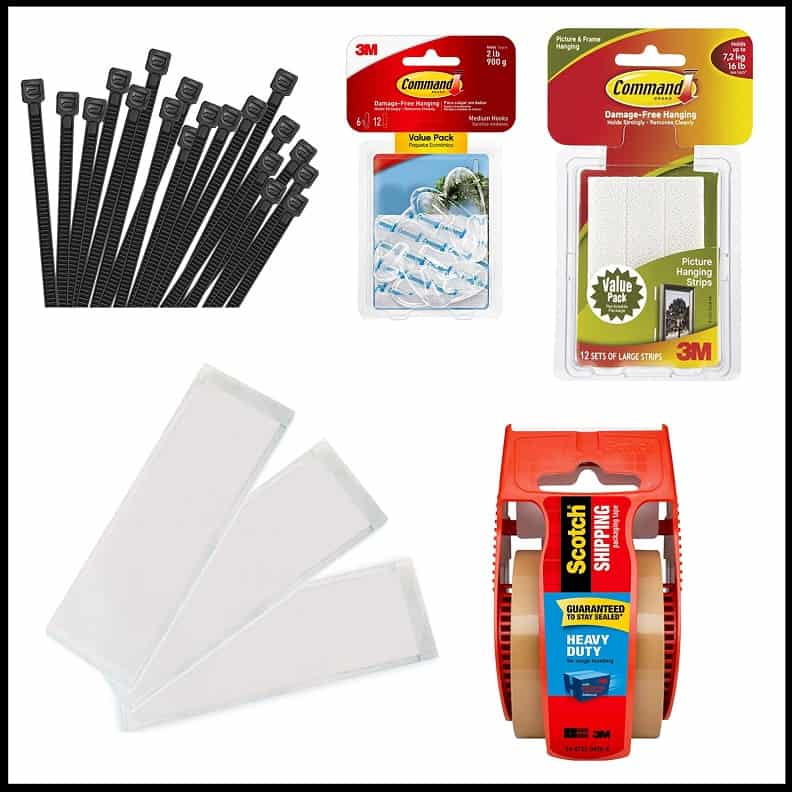
Another thing to consider are the things that you never want to move. Students LOVE to play with the name tag on their desk, which leads to the edges getting frayed and torn up. These Clear Name Tag Desk Sleeves come with an adhesive and make it easy to change out nametags if a student transfers out of the class or a new student comes in.
Speaking of desks, a great teacher hack is to use Zip Ties to hold desks in place. Once you have the desks grouped how you like them zip tie the legs together so that you don’t spend time after school everyday pushing the desk back together!
If you’re looking to put up poster sized growth mindset quotes, these Velcro Command Strips are fantastic! For instructions on how to print poster size, check out my blog here. The blog also has examples of posters I’ve printed and used in the past along with a link to the cheap frames I use from Michaels. It’s a fantastic way to fill up large amounts of space on your wall while also giving students a positive message 🙂
Here’s one more tip if you are trying to hang a banner on a wall rather than a bulletin board. Bulletin boards allow you to use push pins, but it’s a little different on a cinderblock wall. I would recommend using these Hook Command Strips. If you need a bigger hook, here are the Medium Hook Command Strips. Command Strips are strong enough to last during the year, but gentle enough to protect the paint on the walls!
Classroom Set Up Step 4: Bulletin Board

Now that your classroom is clean, your walls are finished, and your decor is up, you’re ready for step four of your classroom set up – The Bulletin Board. I get the most questions about bulletin boards so I hope this sections helps 🙂
When you start your bulletin board make sure you have a reliable bulletin board paper that is versatile enough to go with anything you’ll put on it, and sturdy enough to last all year long. As the year goes along you probably don’t want to redo the background every month.
The best company I’ve found for Bulletin Board Paper is “Better than Paper”. They have tons of options, but I really like this Black Chalkboard Bulletin Board Paper, or this Shiplap Bulletin Board Paper. Both add a nice layer of texture and are neutral enough to go with any season/bulletin board design.
Get yourself a reliable Stapler along with a big pack of Staples to attach the paper, borders, and all décor. Just be sure to have a great Staple Remover for the end of the year! If you don’t want visible staples for your bulletin board paper, try out their Bulletin Board Mounting Tape. This will help your bulletin board look great all year long!
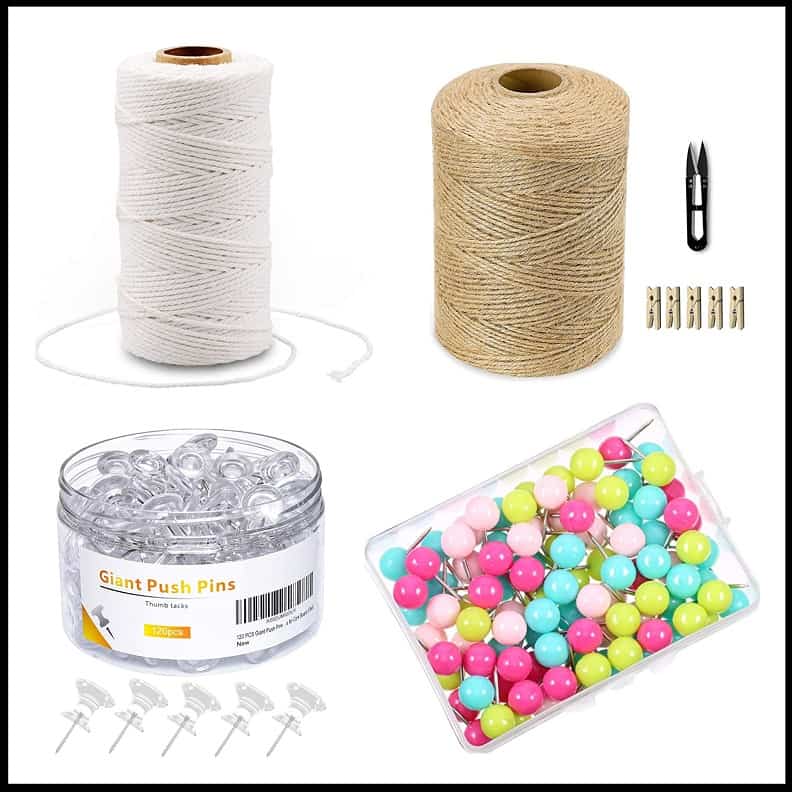
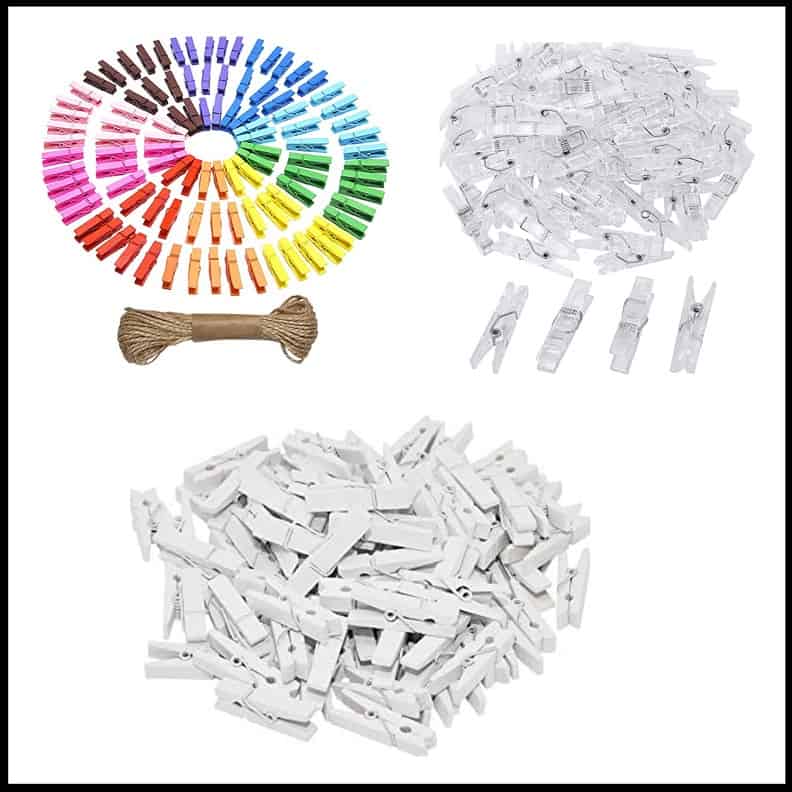
I love to add twine lines to my bulletin boards for fun banners and to dress them up a little bit. If this sounds like you, I would highly recommend this Brown Twine or this White Twine. The second link has options for nearly any color imaginable!
To attach the twine use these Clear Push Pins, or if your board needs a little more color, these Multi-Color Round Push Pins are fantastic! Once you have your twine hanging, you’re going to need cute little clothespins to attach your banner! You could go with Clear Mini-Clothespins White Mini-Clothespins or these Rainbow Colored Clothespins if you need to add a dash of color to your board.
Classroom Set Up Conclusion
I hope these tips helped make setting up your classroom a simple process! Every classroom is different, every classroom theme is different, and every teacher has a different decorating style! Design your classroom to fit your personality because it truly will be your home away from home all year long. Comment below if you have any specific questions and I will update the blog to help address your questions 🙂


Get ALL the Freebies.
Sign up to get access to exclusive freebies for your classroom. New items added all the time!
I already have the password.