How to Easily Print Classroom Posters
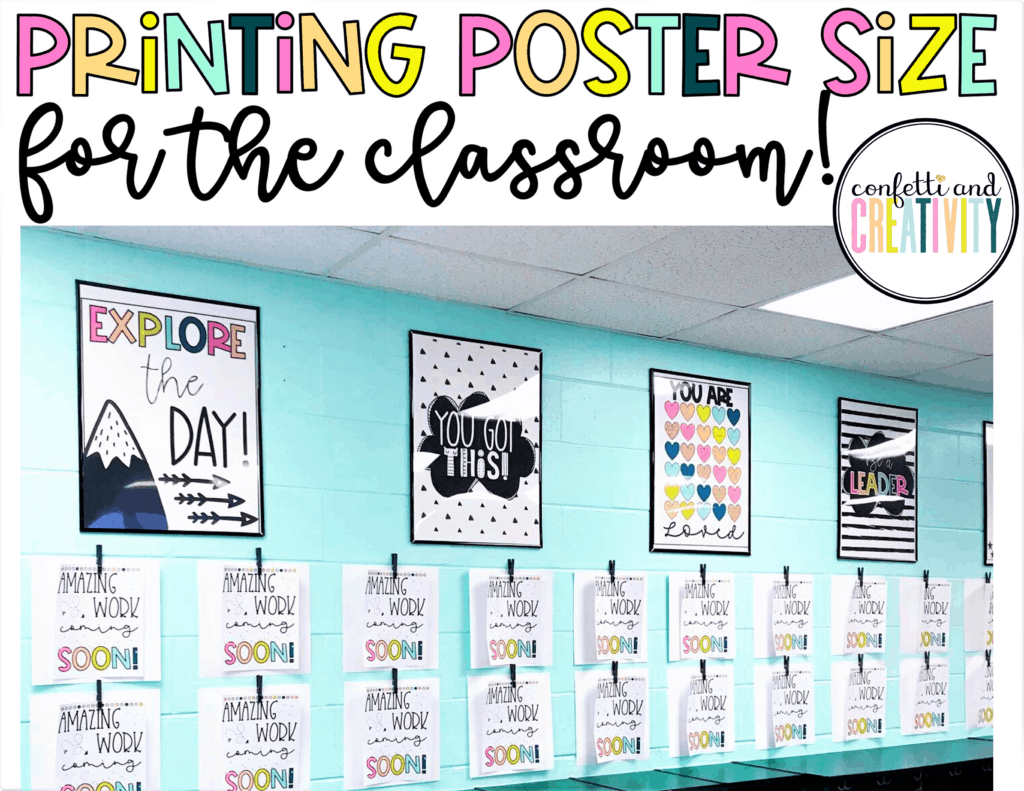
Hey friend, after posting my first ever classroom makeover on Instagram I’ve gotten a lot of questions about how I made my inspirational posters poster sized (Pictured Above). The good news is you don’t have to go to a print shop to print classroom posters! It’s usually cheaper to do to it at home, checkout these steps! (Please note, not every printer has the same settings so you might need to look a little bit to find the same settings).
Step 1: Printing
My growth mindset posters can be printed in two sizes – 16”x20“ and 18”x24”. First you need to choose which size you’d like to print. Consider how much space you have on your wall and if you have any frames to put the posters in. The cheapest and simplest frames I’ve found are from Michael’s and can be purchased here.
Once you decide on the size you’re looking to print, checkout the instructions below for 16″ x 20″ and 18″ x 24″ posters.

Print Classroom Posters with 16”X 20″ Dimensions
1. Choose the page number of the poster you want to print.
2. Click “Poster” underneath “Page Sizing & Handling”
3. Set the “Tile Scale” between 180-185% and overlap to 0.001 in.
Depending on the pattern on the outer edge of the paper the tile scale will vary. 180 is probably the safer bet, but for some patterns if you want to push the poster to the outer edge, you may need to move it up to 185. Play around with the settings through the print screen to see which fits best with the pattern in the poster. It really is that easy to print classroom posters.
*These settings will print 4 pages to make 1 complete 16”x20” poster*

Print Classroom Posters With 18”X 24″ Dimensions
1. Choose the page number of the poster you want to print.
2. Click “Poster” underneath “Page Sizing & Handling”
3. Set the “Tile Scale” between 200-220% and overlap to 0.001 in.
Depending on the pattern on the outer edge of the paper the tile scale will vary. 200/210 is probably the safer bet, but for some patterns if you want to push the poster to the outer edge, you may need to move it up to 220. Play around with the settings through the print screen to see which fits best with the pattern in the poster.
*These settings will print 6 pages to make 1 complete 18”x24” poster*

Step 2: Attaching the Papers Together

After you print classroom posters, it can be difficult to get it to look put together without some practice. Some of the patterns are more detailed than others and can be tough to piece together perfectly. When putting the posters together, be sure that you follow these three tips:
1. Cut as close to the color ink as possible. In some cases, you might need to cut into the color ink.
2. Trim the margin off one edge of the paper and tape or glue it to the overlap to make the connection between each piece of paper.
3. Place the connected sheets of paper on the poster background and determine if you need to cut off any of the excess edges. Place the clear frame on top and you’re ready to hang!
Final Tips
1. Hanging Up on the Walls: The best decision I made in the entire process was using Velcro command strips – click for a direct affiliate link to the same ones I used on Amazon. These strips allow you to easily remove the frame so you can switch up the poster inside and keep things fresh! Also, if the poster looks crooked, you can easily take it off the wall and adjust as needed.
2. I got the frames from Michaels! They were 50% off when I bought them but you can also use their coupons to get them for an even cheaper price! If you want to buy the frames click HERE.
3. I would highly recommend printing on white cardstock on the “best” printer setting.
4. Perfection is the true thief of joy. Don’t spend hours trying to get these perfect. Below you can see a close up of one of my posters that doesn’t line up perfectly at the top. But below that is a picture from a distance and it looks great.


5. Sometimes these growth mindset posters are best printed on a full size 8.5″ to 11″ sheets of paper and grouped together. Check out an example below.

Can’t wait to see how you transform your classroom into being a home away from home! Be sure to tag me on Instagram (@confettiandcreativity) so I can see how you’re using these in your classroom!
If you’re looking to create the same look for your classroom, checkout the entire Bold Brights Decor Bundle. The bundle has everything you need to transform your classroom into a home away from home 🙂
*This post contains an affiliate link meaning at no extra cost to you I receive money to help offset the cost of running this blog*


Get ALL the Freebies.
Sign up to get access to exclusive freebies for your classroom. New items added all the time!
I already have the password.
One Comment