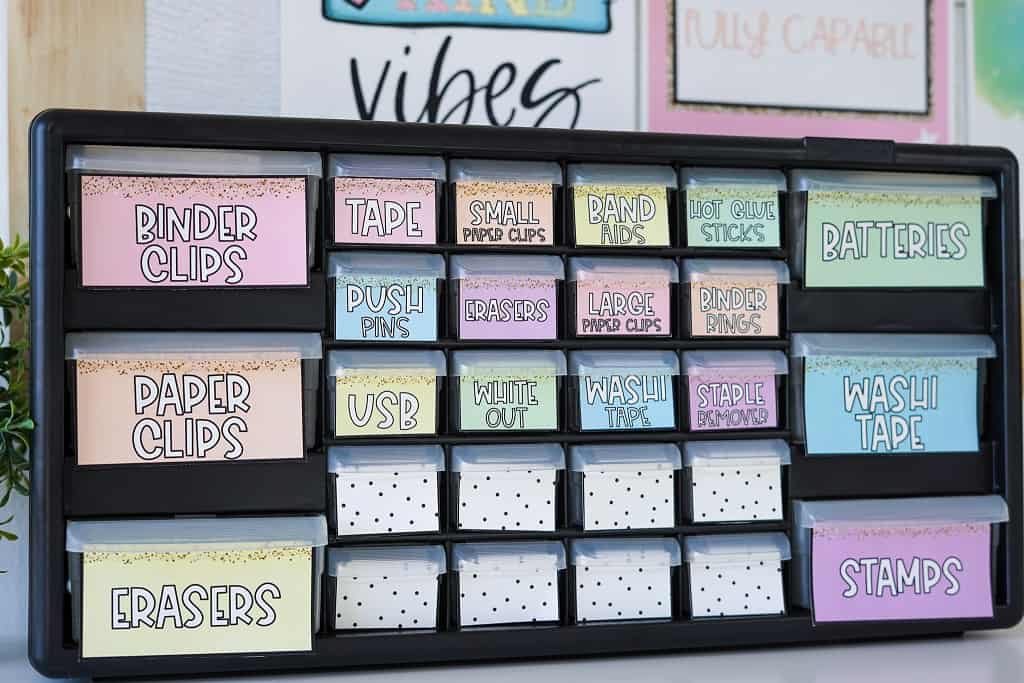
Listen friend, a teacher toolbox is the secret to keeping your teacher desk (and your sanity) together. As a teacher you’re expected to do a million things all at once, which means you’re going to need a million different tools to make it all happen. Being a teacher you’re already short on time, don’t waste time looking for the things that you need! More importantly, you need a special place for your fabulous flair pens!!
Setting up a teacher toolbox is incredibly easy, and today I want to walk you through 5 easy steps to set up a teacher toolbox you’ll love all year long. Not only for the cute design, but also for the all the moments of frustration you’ll save yourself from!
The first thing you’ll need to do is determine how big of teacher toolbox you’ll need. Like goldilocks and the three bears, teacher toolboxes come in many sizes but you’ll need to find one that’s juuust right for what you need to store and how much space you have on your teacher desk.
I get a lot of questions about where to buy a teacher toolbox, and I always recommend Amazon. You’ll get it within 2 days, and they typically (though not always) will have great prices – the ones I like best are linked below. Prices do fluctuate based on inventory, so I would also recommend checking your local hardware store like Home Depot or Lowe’s and seeing what they have in stock!
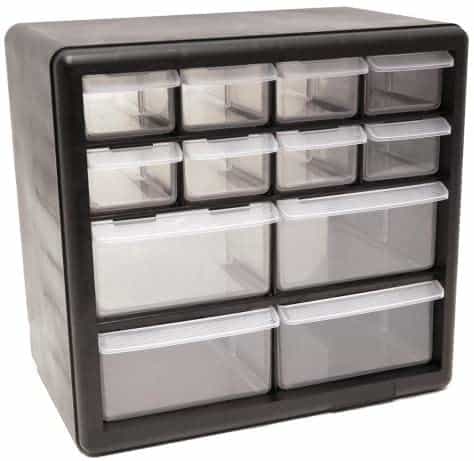
The first option is a small teacher toolbox. This is a great option if you’re strapped for space, or if you plan on using a couple of different toolboxes for different areas of your classroom. The example that I’ve linked has a total of 12 drawers (4 Large drawers and 8 smaller drawers).

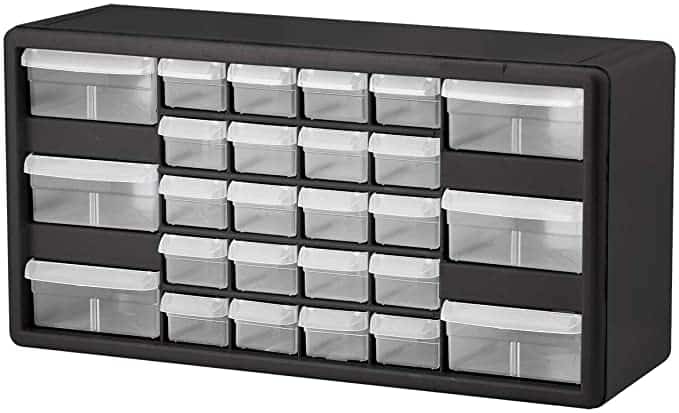
While that option is compact and easy to move around the room, I would highly recommend the medium sized teacher toolbox which comes with 26 drawers and gives you a lot more flexibility with what you can store. While it is bigger than the previous version, I’ve always found that this is was the perfect balance between size and functionality. This size also comes with the option to mount on the wall if you were looking to save some space on your teacher desk.
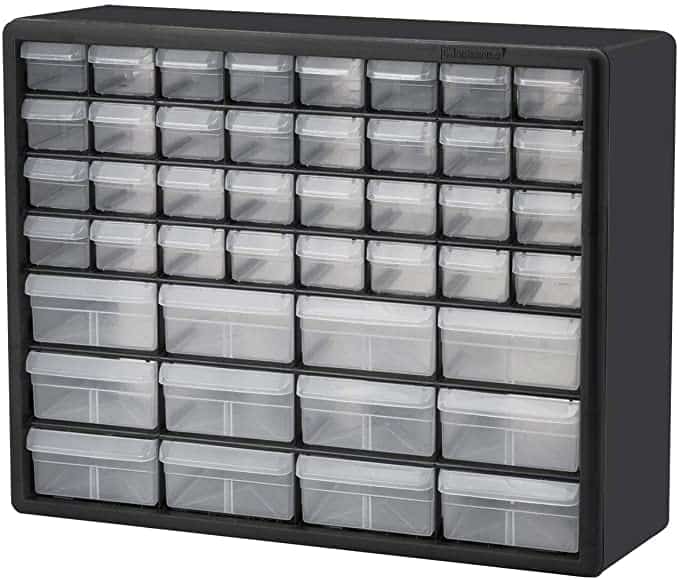
Lastly, if you’re a teacher who needs all the things then you’ve gotta go big and get the large teacher toolbox. This toolbox doesn’t take up any more desk space than the medium sized version, but it is much taller and includes a total of 44 Drawers. With that much space you could even hide a few small bags of M&M’s for the tough days!
Once you have your teacher toolbox ordered, you’re ready for the fun part – deciding what labels you want to put on the front. If you purchase any of my Classroom Decor Bundles, then you’ve already got everything you need. But if you aren’t sure what your style is, here are a couple of my favorites
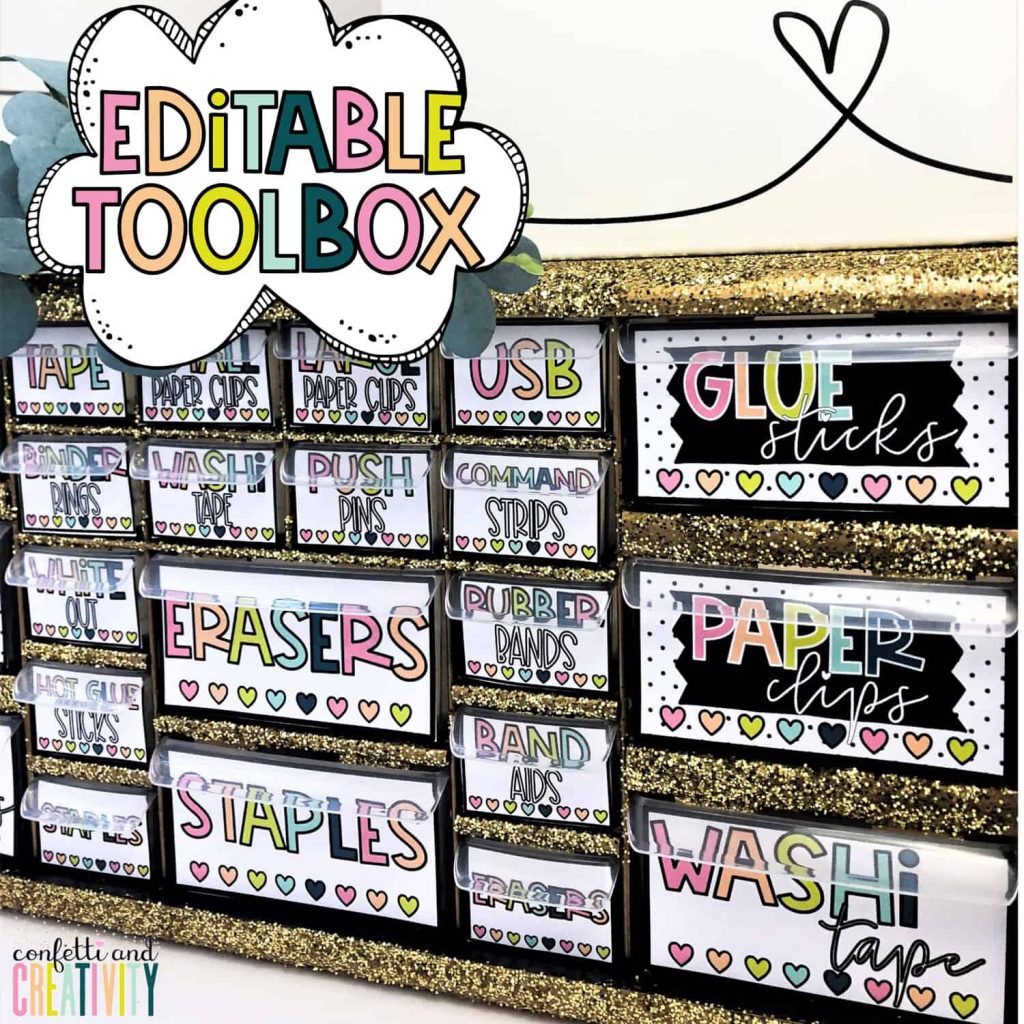
These are Labels from my Bold Brights Collection that comes with the perfect balance of bright colors and black and white patterns to balance it out.
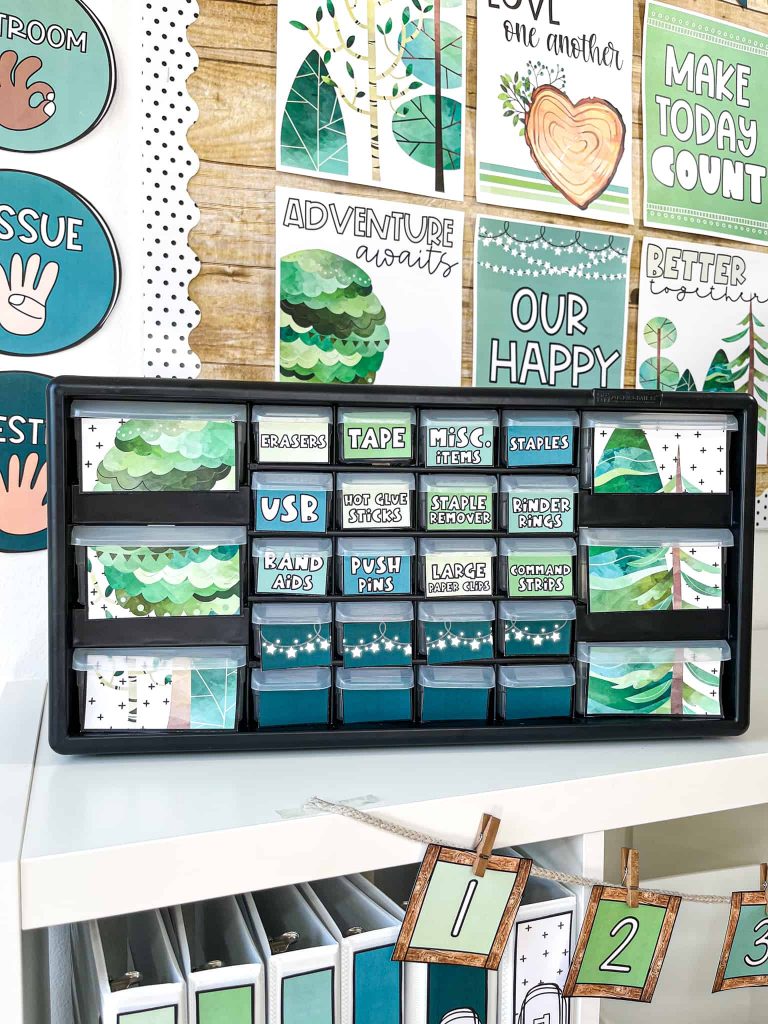
Use these labels are from my Nature theme, and bring all the calm vibes and beauty that is found in nature. These labels employ a beautiful 5 color pallet based on blue and green hues.
Once you know which labels you’re going to use you might want to consider painting your teacher toolbox to take it to the next level. If you choose to paint your toolbox, I would recommend using a reliable spray paint. It takes less than 10 minutes and you’re ready to put on your labels within an hour or two of painting it.
The boxes typically come in a flat black color which is versatile enough to go with almost anything. But sometimes adding color brings out the beauty of the labels themselves and makes such a great cohesive look.
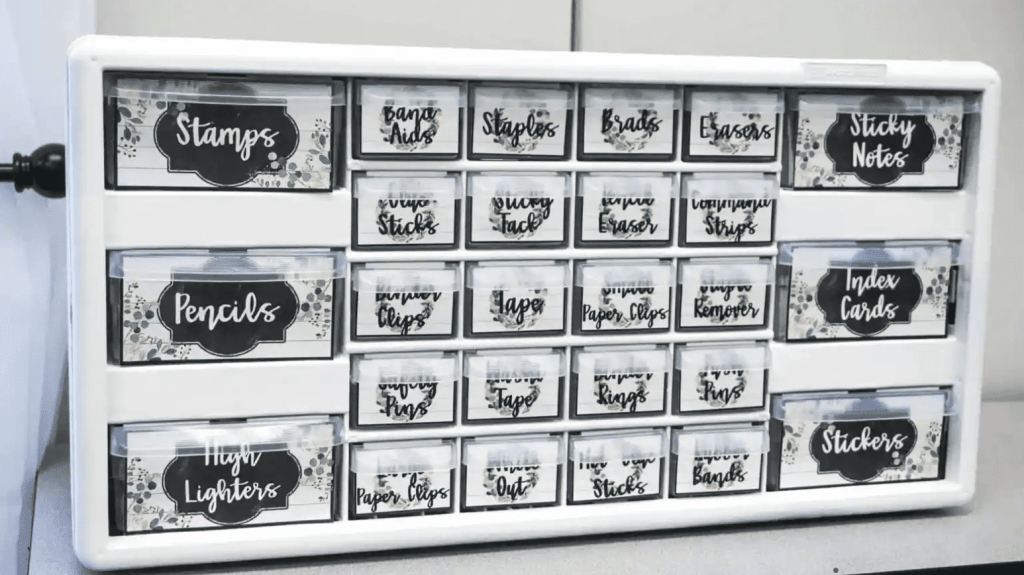
For example, for my Farmhouse Classroom Makeover, I spray painted the teacher toolbox white because it matched perfectly with the white simplicity of my Modern Farmhouse Teacher Toolbox Labels.
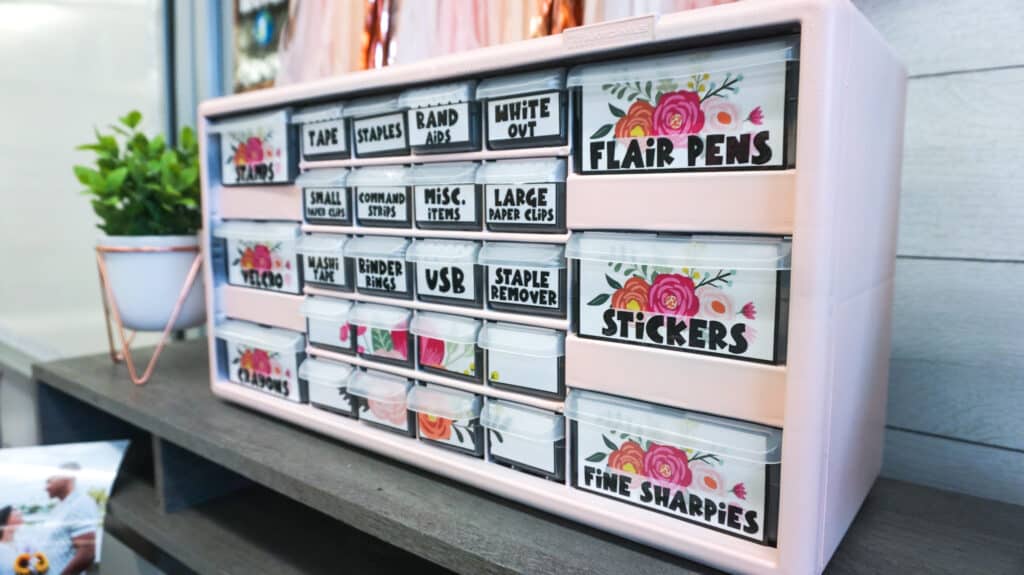
For my Farmhouse Floral Classroom Makeover I painted the toolbox pink to match the beautiful soft pinks in the floral clipart of the labels.
For my Bold Bright Classroom Makeover I used gold glitter and decoupage to add some sparkle that could match the beauty of the bold bright labels.
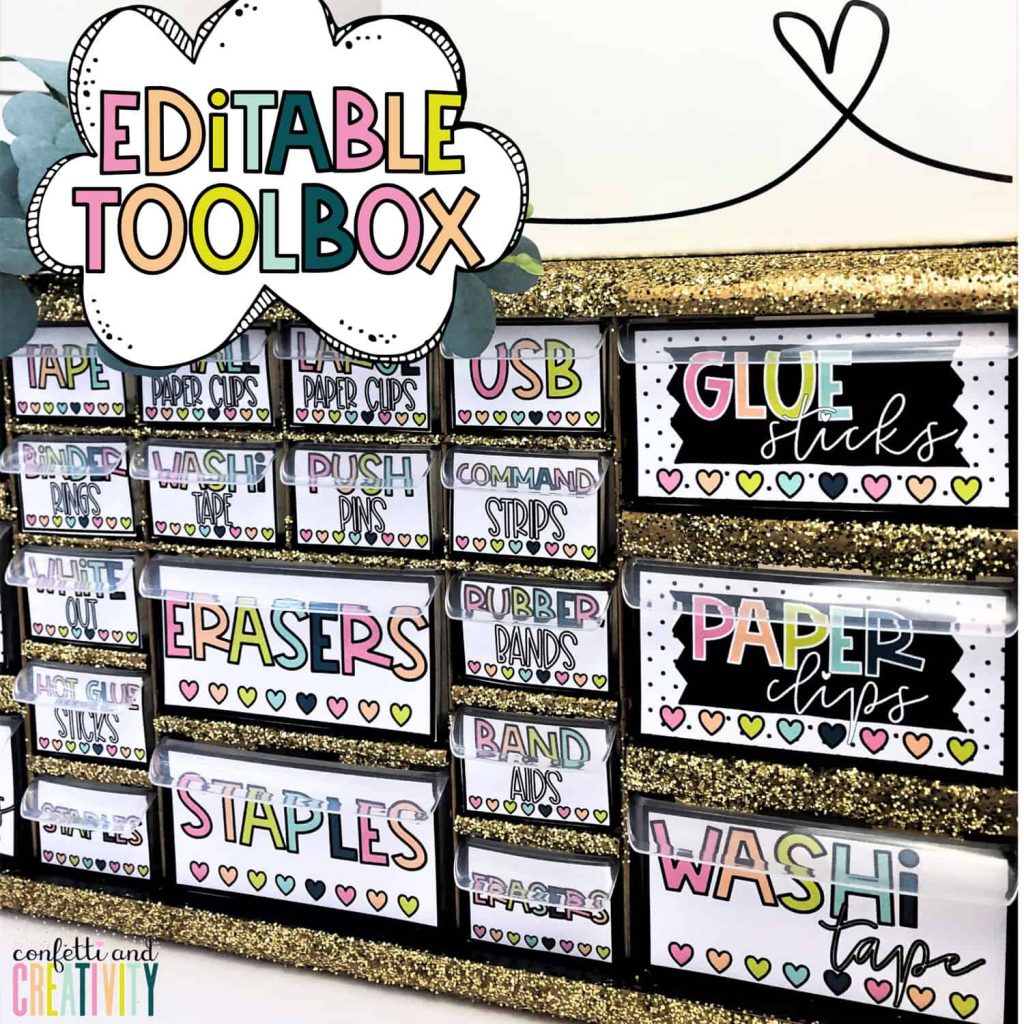
Once your toolbox is painted (If you choose to paint it), you’re ready to print and cut your labels. All of my teacher toolbox labels are editable through Powerpoint so that you can make exactly what your classroom calls for. No two classrooms are the same, and no teachers are the same, but you’ve got unlimited options when you can edit them!
If you need help deciding which labels you need I also include a PDF of pre-made labels for common items (staplers, paper clips, flair pens, pencils, erasers, etc). These will save you a lot of time and effort and can give you a great foundation to build off when personalizing your own box.
I would recommend printing the labels on cardstock paper so that they will last all year long, and are less likely to fray at the edges from frequent use.
Once you have your labels cut and printed, it’s time to finish the last step! I recommend using double sided tape to tape the labels on the outside of the drawers. This makes them easier to see, and prevents you messing the labels up when as you’re pulling items from the drawer.
I hope this helped you take a step towards making your teacher life simpler. You will make a life-time difference in the life of your students – make sure you do small things that make you last for the long run – stay organized with a teacher toolbox!
Let me know if the comments below- what teacher toolbox labels do you currently use? Which ones do you plan on using next year?