5 Tips for Editing Classroom Decor

The best advantage of buying digital files and printing your own classroom decor over buying premade classroom decor is the ability to edit them. You can add student names to desk name plates, create customized labels to organize your storage, and add student names to classroom jobs and birthdays.
Editable classroom decor files give you the power to turn your classroom into a home away from home by making it exactly what you’re looking for. That’s why nearly all of my classroom decor products have editable options.
I want to start with an overview of my editable products and then give you 5 that I hope will help you save time. We all know how precious time is when you’re a teacher!
Confetti and Creativity Editable Products
I want to start by defining what I mean when I say that a file is editable. My editable files allow you to change the text in the file to add your own fonts or even use it for bilingual products. Unfortunately, in an effort to protect my intellectual property the clipart and designs of the products are not editable.
All of my editable products come as Powerpoint files. You can edit some files in Google Slides, but unfortunately many of the special fonts don’t translate to Google Slides and will limit your ability to create exactly what you want. If you don’t own Powerpoint, here’s a 1 month free trial of the program: https://www.microsoft.com/en-us/microsoft-365/try.
Secondly, I embed fonts into the editable files. That means that I insert the special font directly into the editable file. The fonts cannot be transferred to any other document, but they allow you to use the fonts without having to purchase them on your own. You’re always welcome to use a font beyond what I have included but I want to do everything I can to save you money and provide my recommend fonts 🙂
Here are my five favorite tips to help you edit your files quickly, saving you time and money!
1. How To Download and Use a New Font
If you’re looking to use a specific font that’s not included in the file, I want to show you how to download a new font and use it in your document.
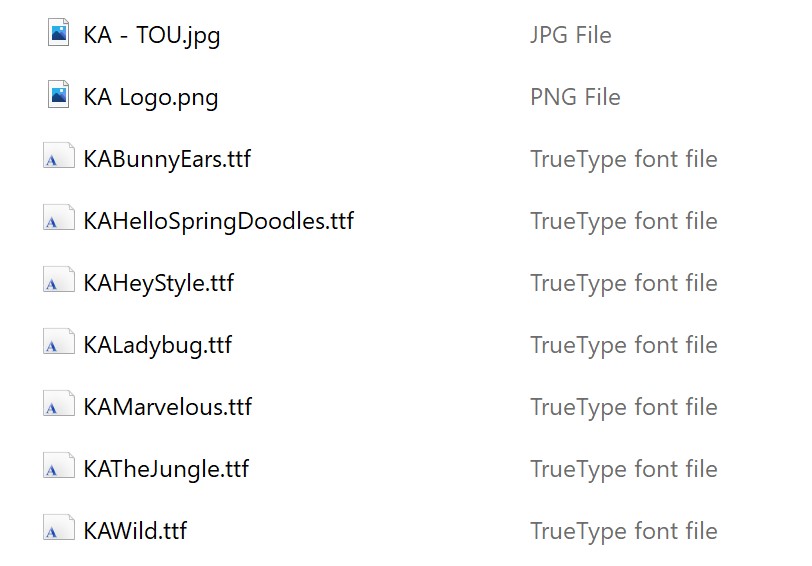
Step 1: Find the font you want to use. Some of my favorite font creators on TPT are Kaitlynn Albani (KA Fonts), Perfect Blend Fonts, Cara Carrol, and Kimberly Geswein (KG Fonts). Once you find the perfect font you’re going to need to download the file product you’ve purchased.
Once you’ve downloaded and opened the product you’re going to see .tff files which stands for True type font file. Picture below is the file for KA fonts – set 33.
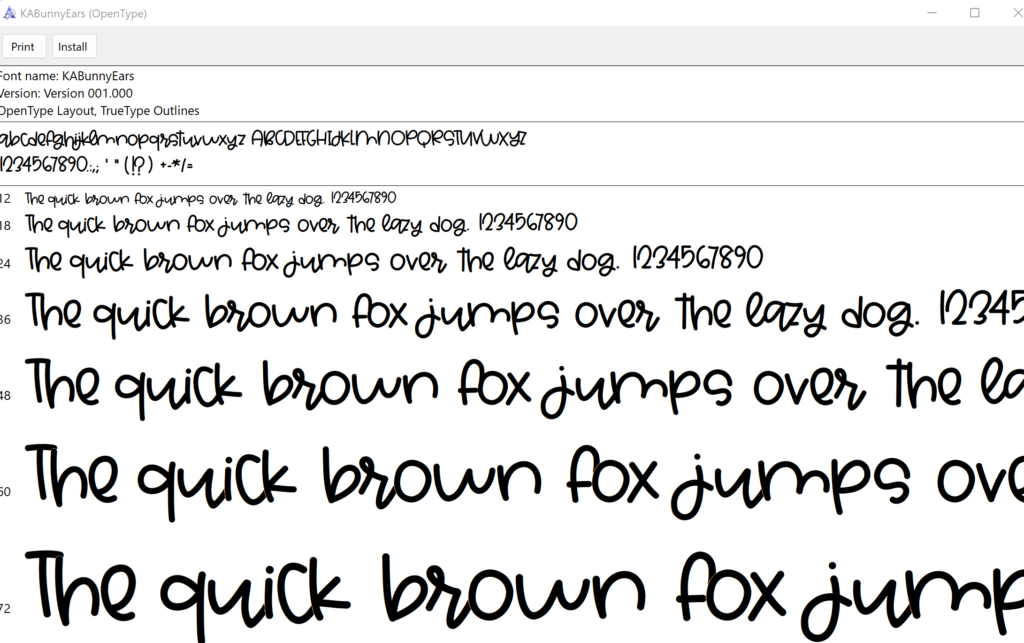
Step 2: Open the font you want to use. When you click on any of the .tff files, it will bring up a box that shows what each letter of the font looks like.
Step 3: Click “Install” to install the font. Once you click “install” the font will be available for you to use in Word, Powerpoint, or any document that allows you to use custom fonts. If you have Powerpoint open when you download the font you’ll need to restart Powerpoint for the font to show up in the list of usable fonts. If the font isn’t there when you open up Powerpoint, you may need to restart your computer.
2. How to Change the Font for an Entire File
So let’s say you have found the perfect font, but you don’t want to manually change the font for every page in the file. The quickest way to change a font for an entire document is to use the find and replace feature. Here are the steps for Powerpoint
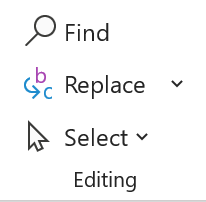
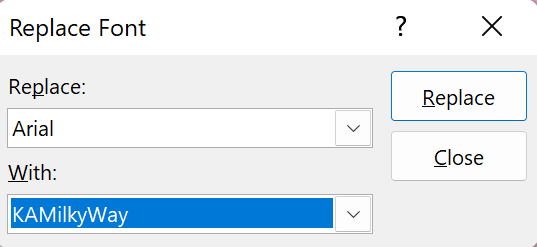
Step 1: Click the drop down arrow next to Replace. You can find these buttons on the home tab of Powerpoint, right above the word “Editing”.
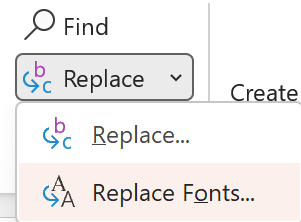
Step 2: Click “Replace Fonts”.
Step 3: Use the top drop down to select the font in the file that you want to replace, and use the second drop down option to select the font you want to change it to. Once you click “Replace, the entire document will have the second font replace the first with the same size and coloring that it originally had. In the example below, the Arial font will be replaced with KAMilkyWay.
3. How to Duplicate Multiple Slides Quickly
Let’s say that you want to create nametags for your class using one of my editable desk nameplate files. For example, my Nature Classroom Desk Nameplates file has 5 slides that have a similar design but different colors. If you used this design you’d have 10 nameplates but you’ll probably need 20-30 to have one for each of your students.
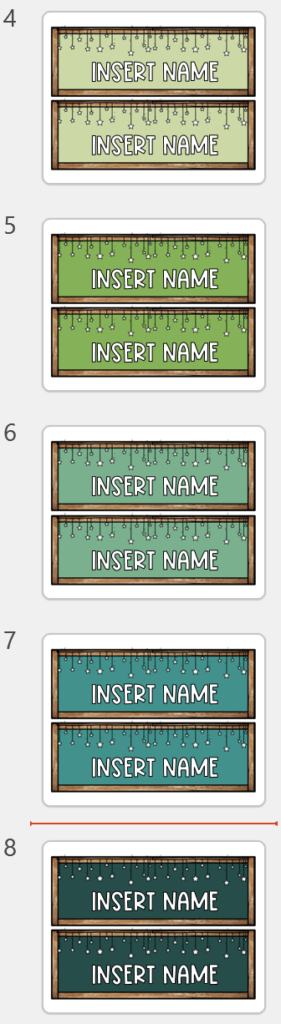
Step 1: Select the Slides you want to Copy. The fastest way to create more is to left-click the top slide, hold Shift, and then left-click the bottom slide. After you’ve done this you should have all 5 slides selected and it should look like this. Notice the red box around each of the slides.
Step 2: Right click and select “Duplicate Slide”. Once you have all 5 slides selected, right-click on the bottom slide and choose “Duplicate Slides” by left-clicking on it.

This will leave you with 5 new identical slides for a total of 20 desk nameplates. If you need up to 30, repeat the process. Quick and simple 🙂
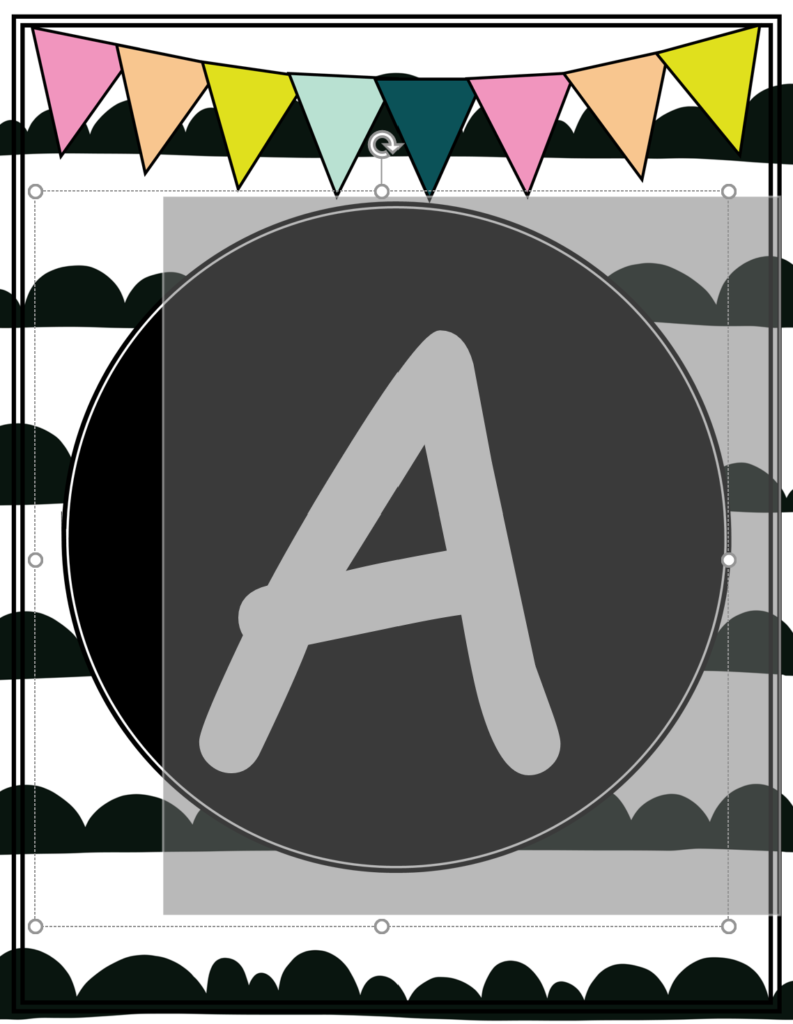
4. How to Match Font Colors Perfectly to ClipArt
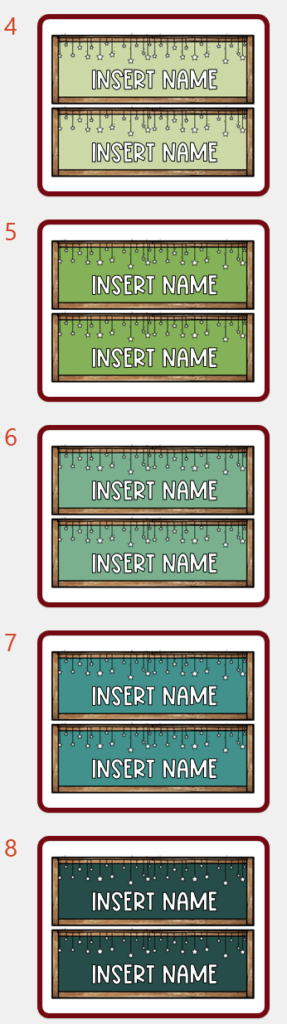
So let’s say that you want to use a different colored font than the one provided. For example, in the editable alphabet below, the font is white – but what if I want it to perfectly match the pink in the banner?
Step 1: Highlight the letter/font. You can do this by either holding shift and clicking on the letter, or clicking on the textbox, holding the left-click button and dragging it across the text you want to select. The font should look like this:
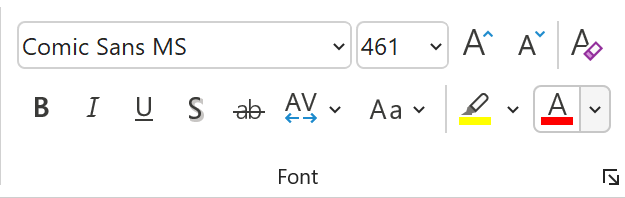
Step 2: Click the drop down arrow on the font color button. This button can be found on the home tab of Powerpoint. In the picture below, you’ll see an A with a red line under it. Clicking the drop down arrow to the right of that letter will give you color options you can change the text to.
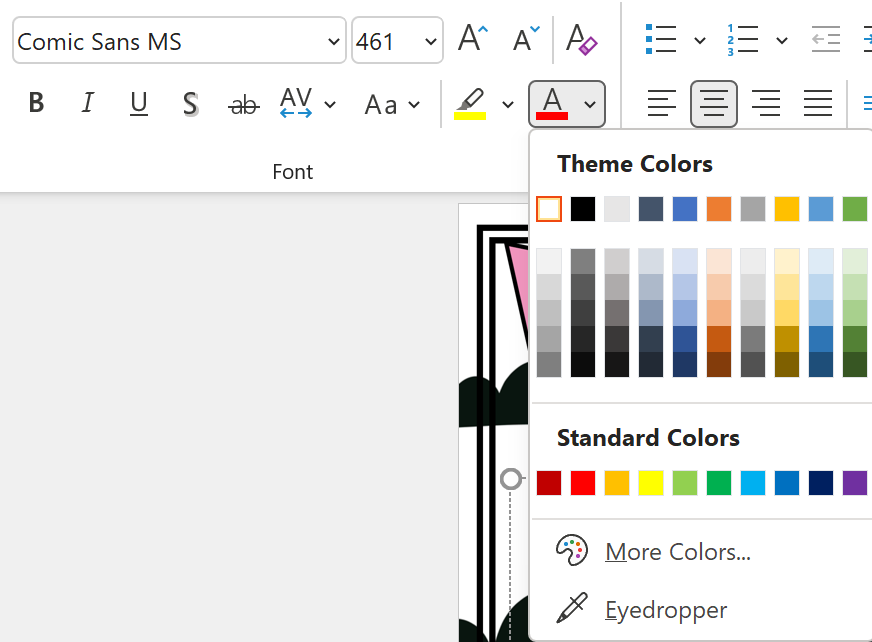
Step 3: Select “Eyedropper”. In the picture below, it’s shown in the bottom right.
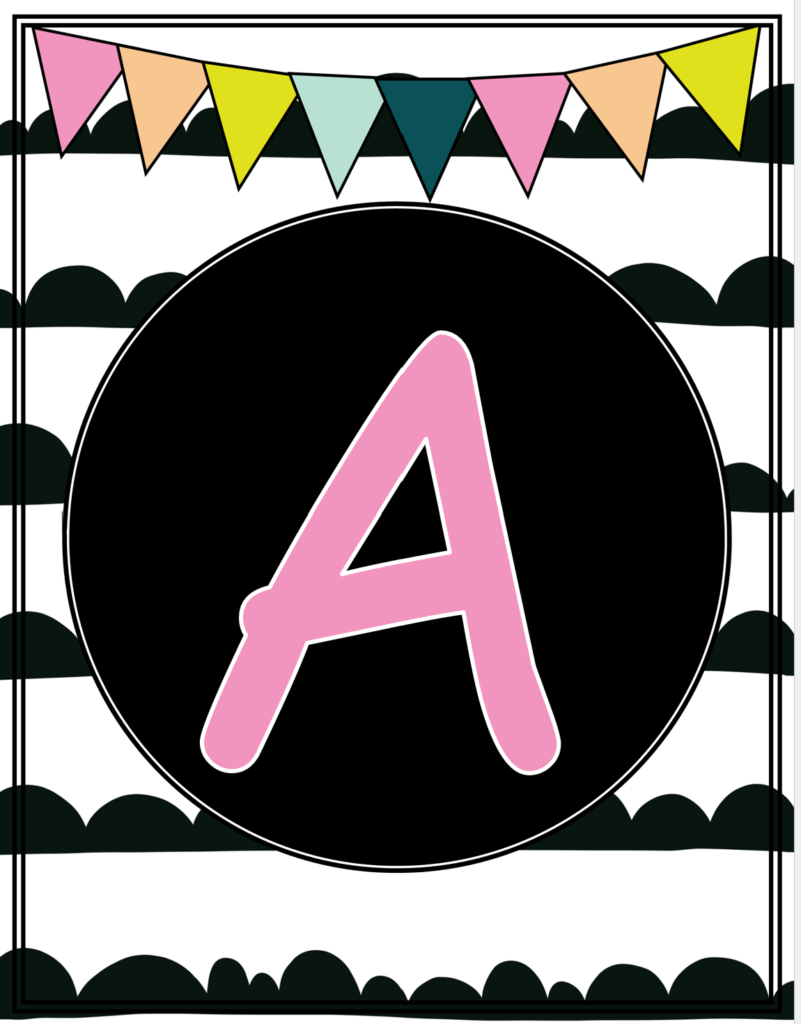
Step 4: Hover over the color in the picture that you want to match and left-click. Your mouse will turn into an eye dropper. When you hover over any color a box will appear next to the eyedropper that shows what color you’re selecting. When you are hovering over the color you want, left-click and your font will become that color. Pictured below is the final result of the process. The letter perfectly matches the pink in the clipart banner.
5. How to Print Only a Portion of the Page
So let’s say that you only need a single desk nameplate or a nametag, but the page includes multiple options. Here’s how to save ink by only printing what you need from the page.
Step 1: Select the “Insert” Tab on menu bar of Powerpoint.
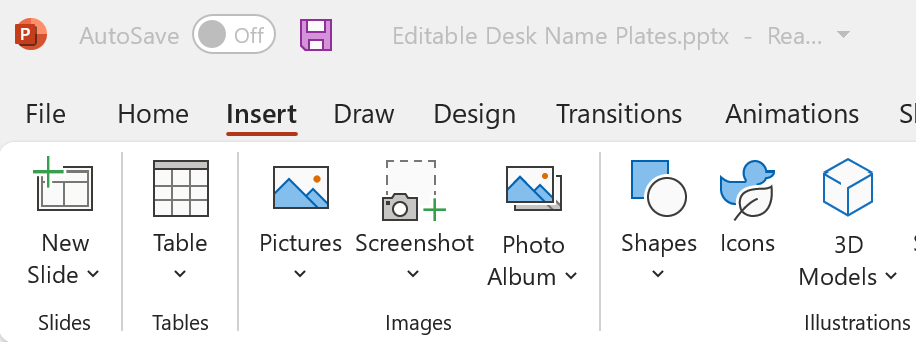
Step 2: Select the drop down arrow underneath shapes, and select a the rectangle shape.
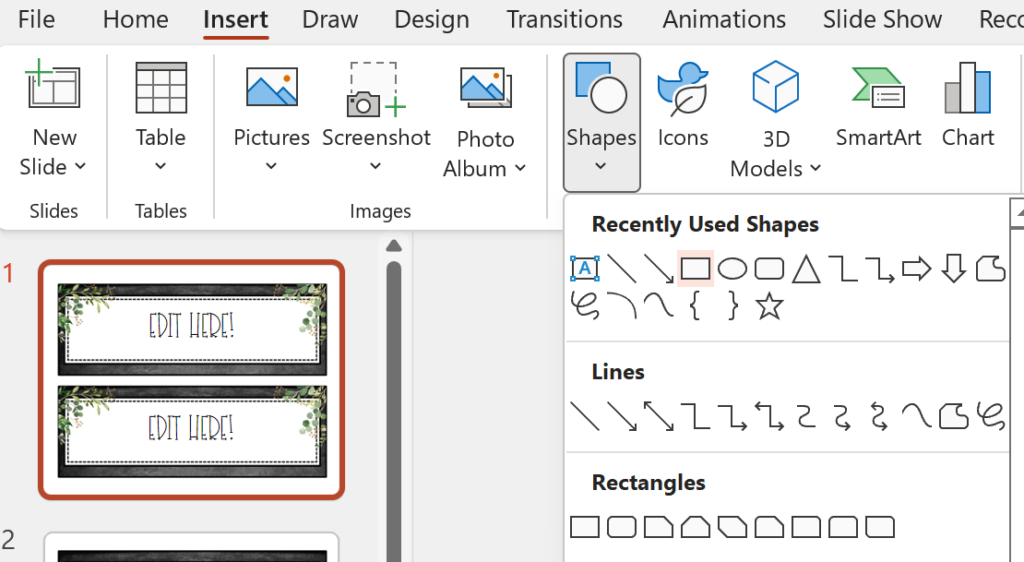
Step 3: Draw a rectangle over the portion of the page you don’t want to print. In the picture below, I drew a rectangle over the second name tag on the page. The standard shape is blue, so we will need to change the color.
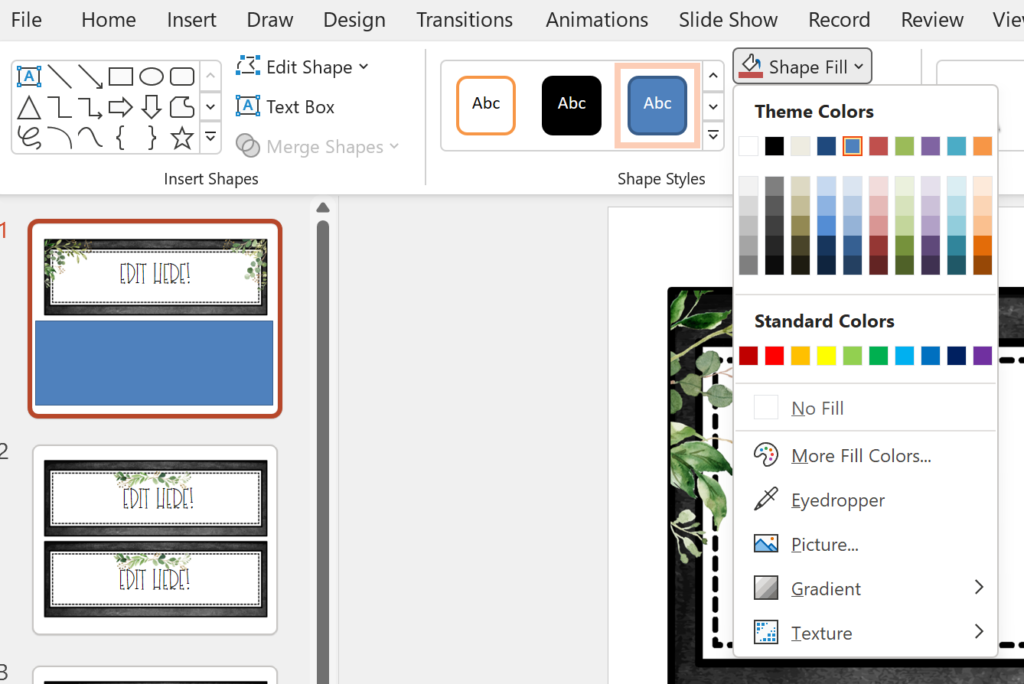
Step 4: Make the Rectangle White. You can do this by clicking “Shape Fill” and choosing white from the list of colors. In some cases, you might also need to make the border of the shape white. If you need to do this, “Shape Outline” is right underneath “Shape Fill”. Click the drop down arrow and select white to turn the border white.
Step 5: Print. The final result is pictured below, leaving only what you want to print and saving on ink:

Conclusion
So there you have 5 of my favorite editing tips when using my editable files. Please let me know in the comments below if it was helpful, and let me know if you’re having any trouble that I can help with. I’ll be updating this blog as I hear from you and adapting to ways that I can help 🙂


Awesome tips! Thank you so much. I am excited to bring my classroom all together with your beautiful designs.
I appreciate that they are editable..
Where would you suggest is the best place to print things out?
Thank you for any suggestions.
Hey Jennifer,
That’s a great question. I typically recommend printing at home if you have a color printer because it’s the cheapest. If you don’t have a color printer at home I would recommend shopping around places like Staples as well as local print shops to see who can do it the cheapest.
If you print at a store like this please email me at ConfettiandCreativityStore@gmail.com so I can give you a form that will make it easier 🙂